Creating and Managing Courses
To add a course to platform, follow the steps in the video below.
Note: Some features of the platform may be different as this video was created on an older version of the platform.
See the guide on course scheduling to schedule your course, and assign it a deadline and renewal period.
See the guide on Availability to assign your course to your companies training groups.
Create a course
The Course Builder guides you through the steps to add a course. Note: You will need at least content management permissions within your organisation to create courses.
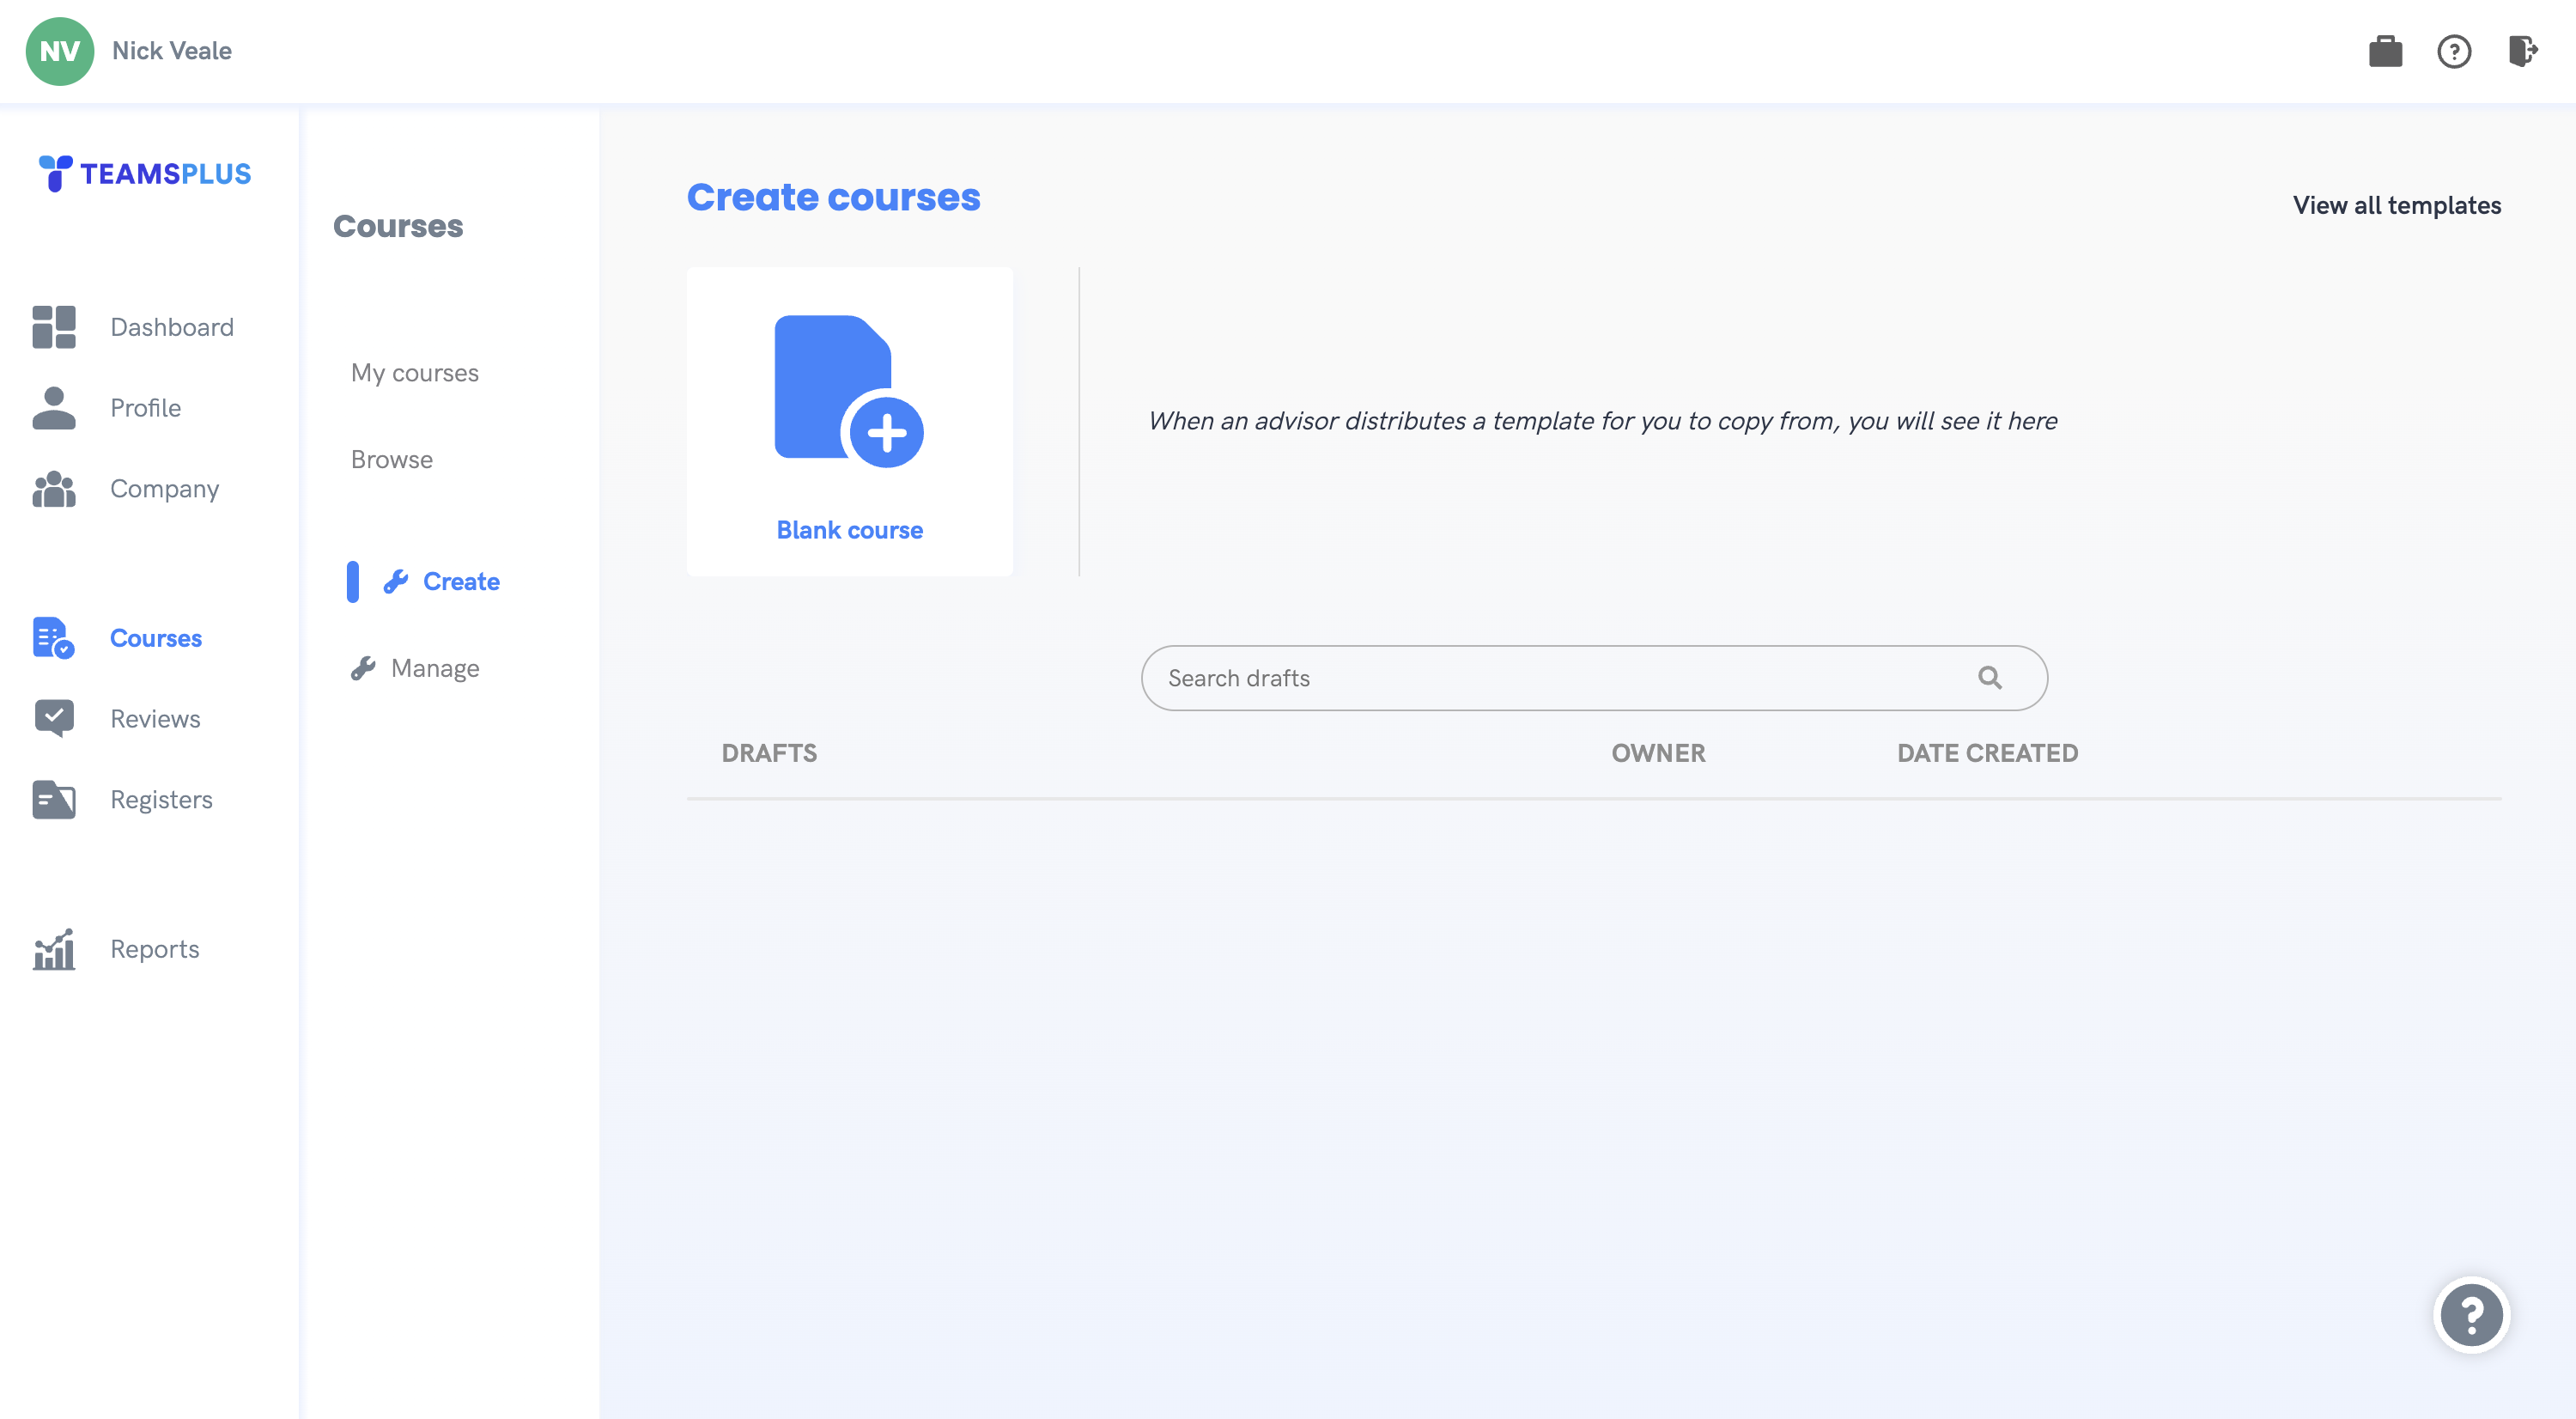
To create a new course, navigate to 'Courses' > 'Create'. From here we can create either a blank course, or a course from a template if there are templates available. We can also view and continue editing any draft courses that we may have yet to finish. Let's begin by clicking the 'Blank course' button.
Add a meaningful Course title and Description. The Description is limited to 260 characters. These two areas are important when you are using the Search function to find your courses. Click 'Next'.

Adding sections
Click 'Add section'.
Input a section title and click 'Save'. The section title is now displayed.

3. On the right, click 'Add content' then input relevant content. This can be text, tables, images and videos, or you can upload files. Click the relevant icon in the toolbar.
Apply formatting as required. For Help click the question mark, under the 3 vertical dots in the right corner.

4. Click 'Done editing' when you've added the content.
5. You can add more content to that section ('Add content') or add a new section ('Add section').
6. Content can edited, deleted, or moved using the icons.
The Dacreed Content Editor is similar to many document editing programs, to find out more about adding rich content to your courses, you can visit Adding Rich Content to Courses
Adding a test
Note that learners must score 100% to pass a test. They redo the test until they achieve this.
Click 'Add test'.
Input the test title and click 'Save'.
Click 'Add question'. Input the question and answers (follow steps below). Select the correct answer option.
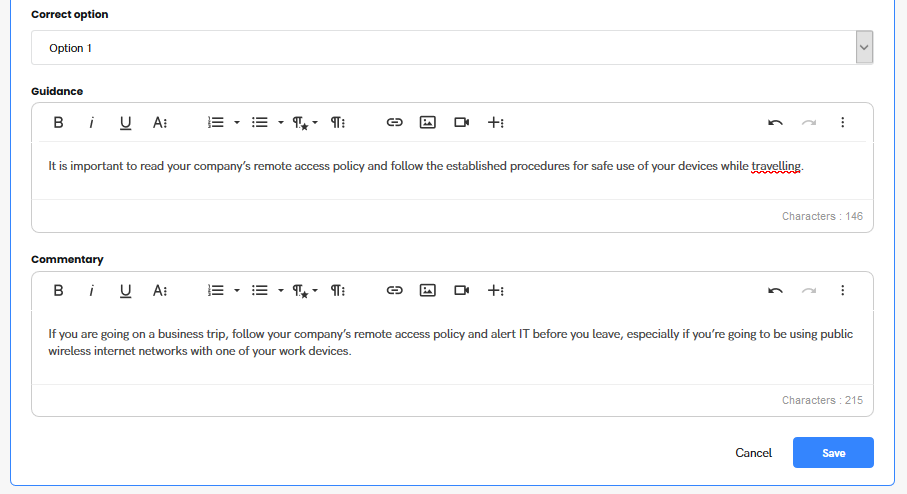
You can input Guidance and/or Commentary but this is optional (follow steps below).
Click 'Save'.
Click 'Add question' to add another question.
Answers can be:
True/False*
Yes/No*
Multiple choice
Note: To input T/F or Y/N answers, type them into the option 1 & 2 boxes, as shown below

You can choose either a single or multiple correct answers for a question. When you select multiple answers, you can choose more than one option as the correct answer, and learners have to choose all correct options to pass the question.


Each question can optionally include:
Guidance – like a hint. Learners only see this if they click the 'Show guidance' button on a question.
Commentary – feedback or explanation if an answer is incorrect. Learners receive this at the end of the test.
Preview and publish course
Once you have created the course, click the 'Action' dropdown in the top right and select 'Preview'. This previews the course in a new tab. Review the course then close the tab to exit the preview.
When you're happy with your course content, click the 'Action' dropdown and select 'Publish'.

Distributing courses
Once your course has been published you will be taken to the settings page, which allows you to edit and finalise your courses settings including categories, availability, and rewards, before choosing how it is distributed to users.
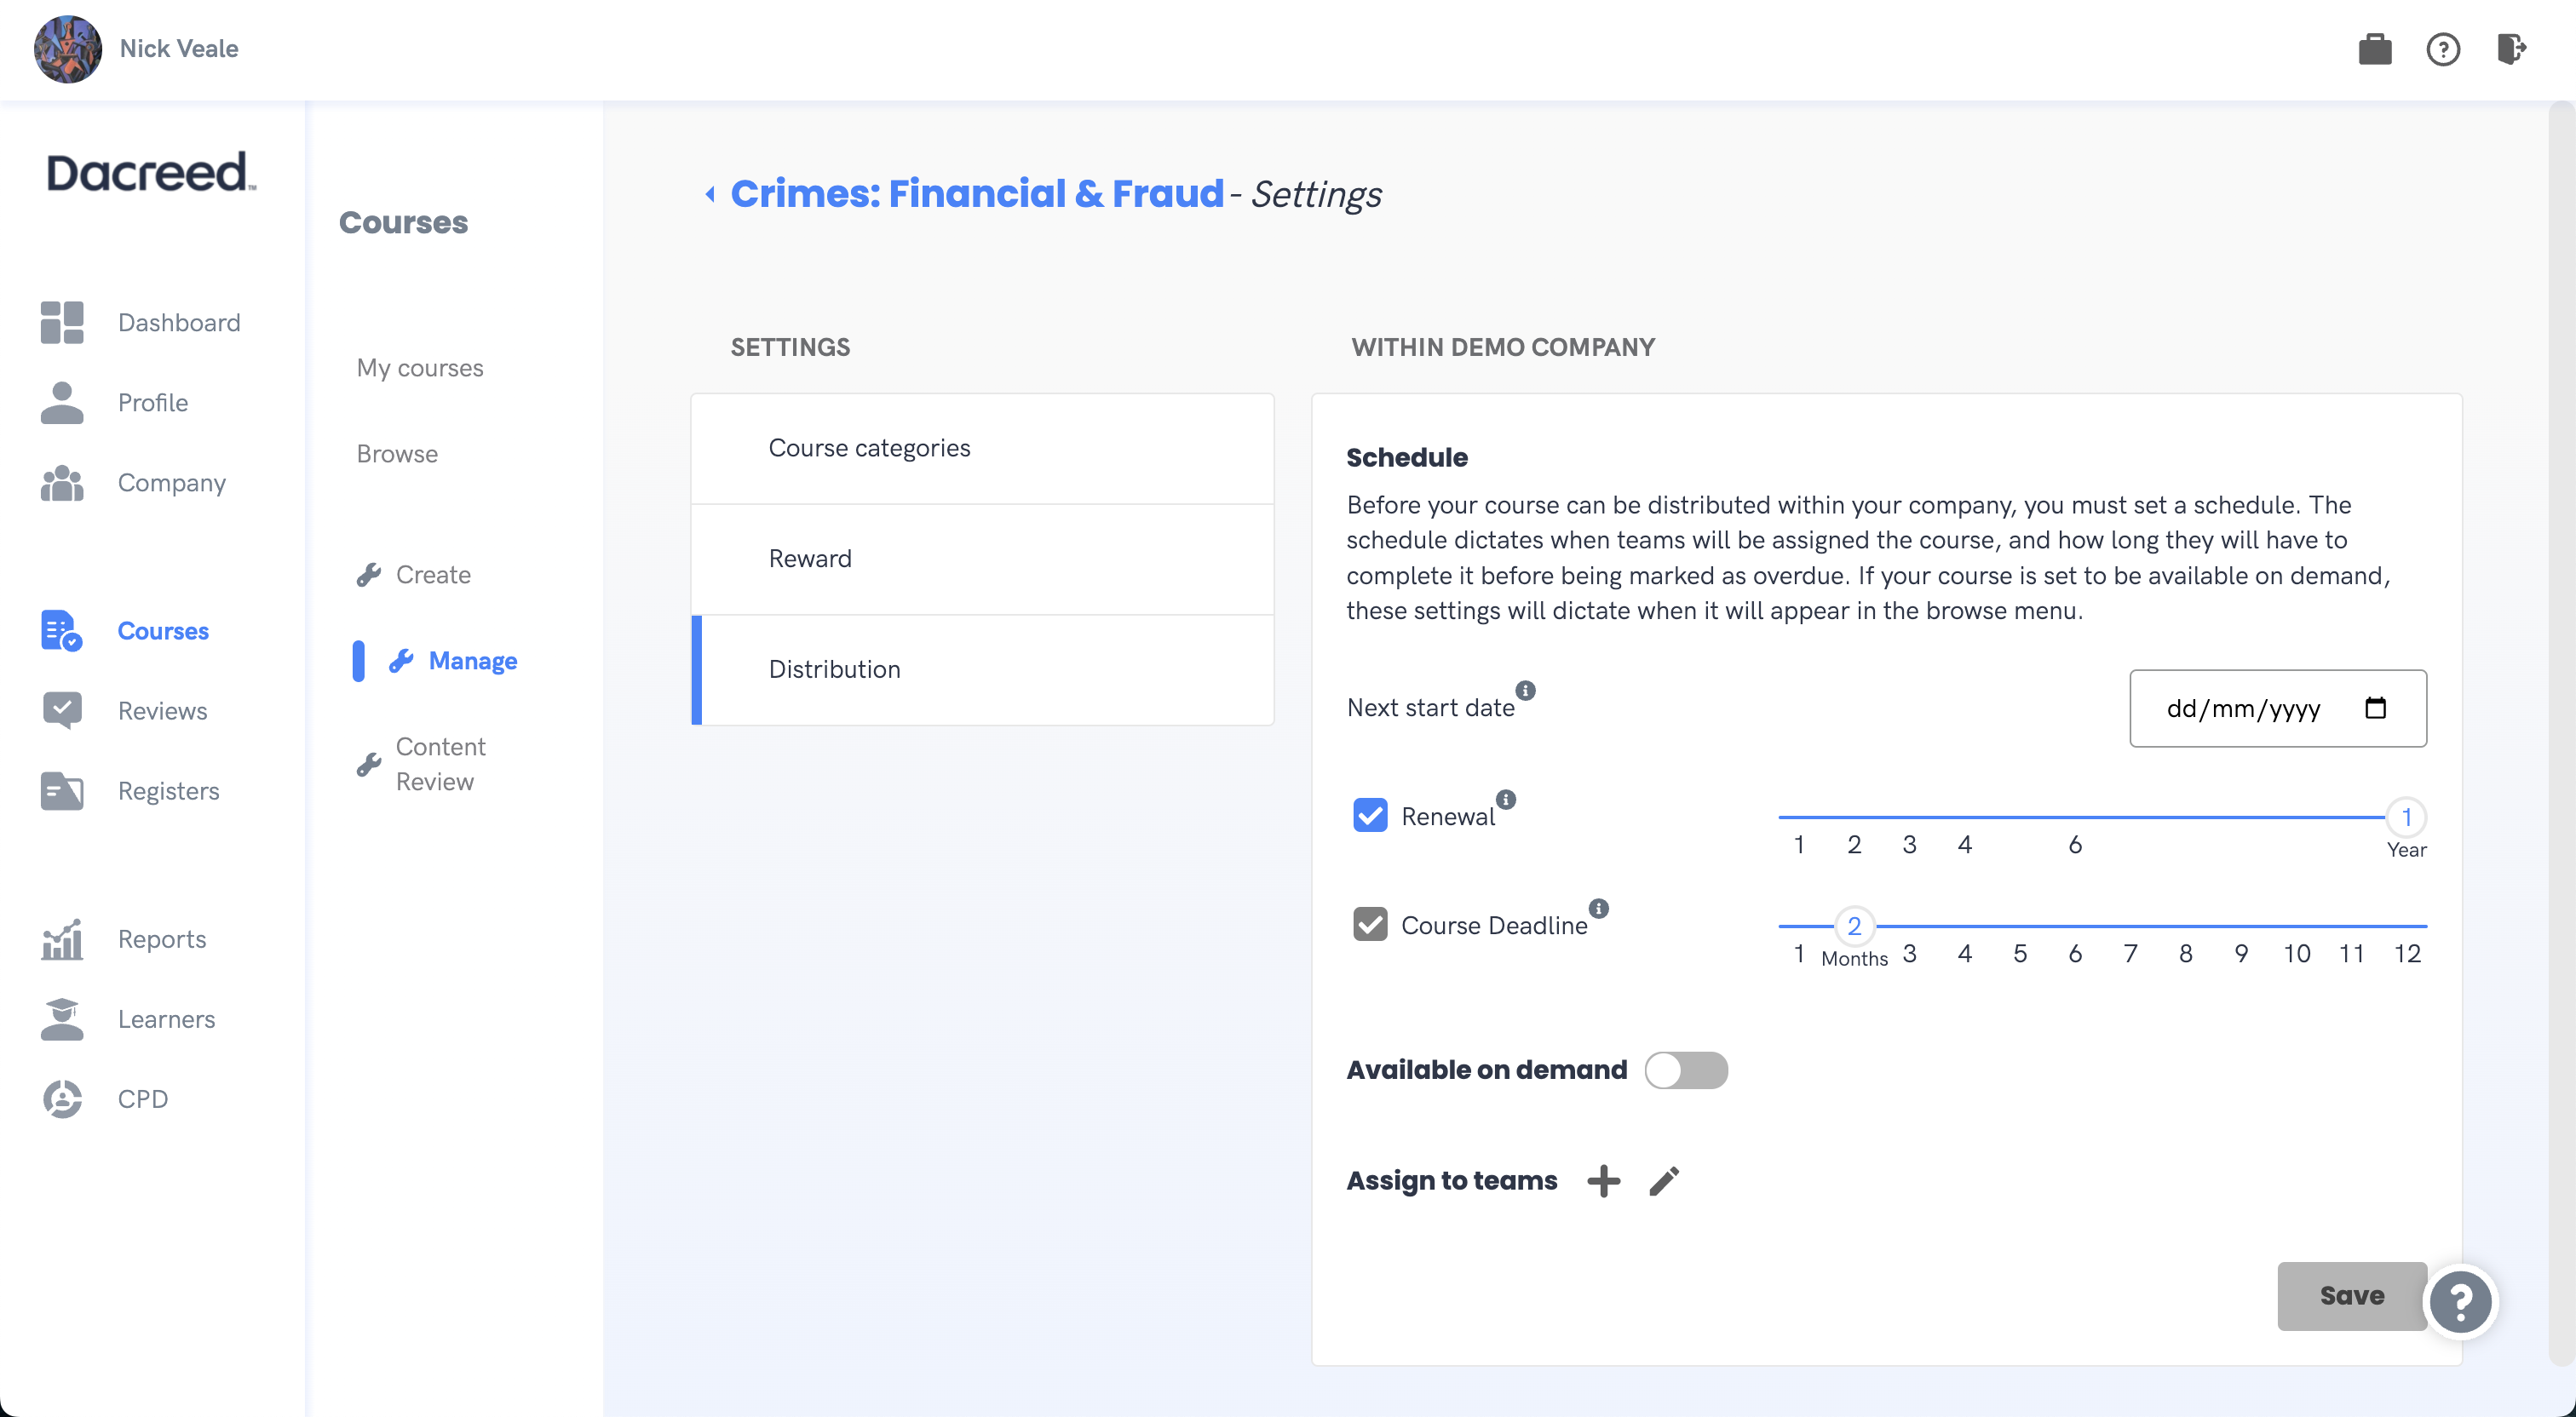
You course can be distributed within your company as an on-demand course or by assigning it to teams, however both of these options will require you to first decide on a start date for your course. Based on this start date, you can then adjust renewal and deadline settings for this start date (read more on this under Course Scheduling and Distribution).
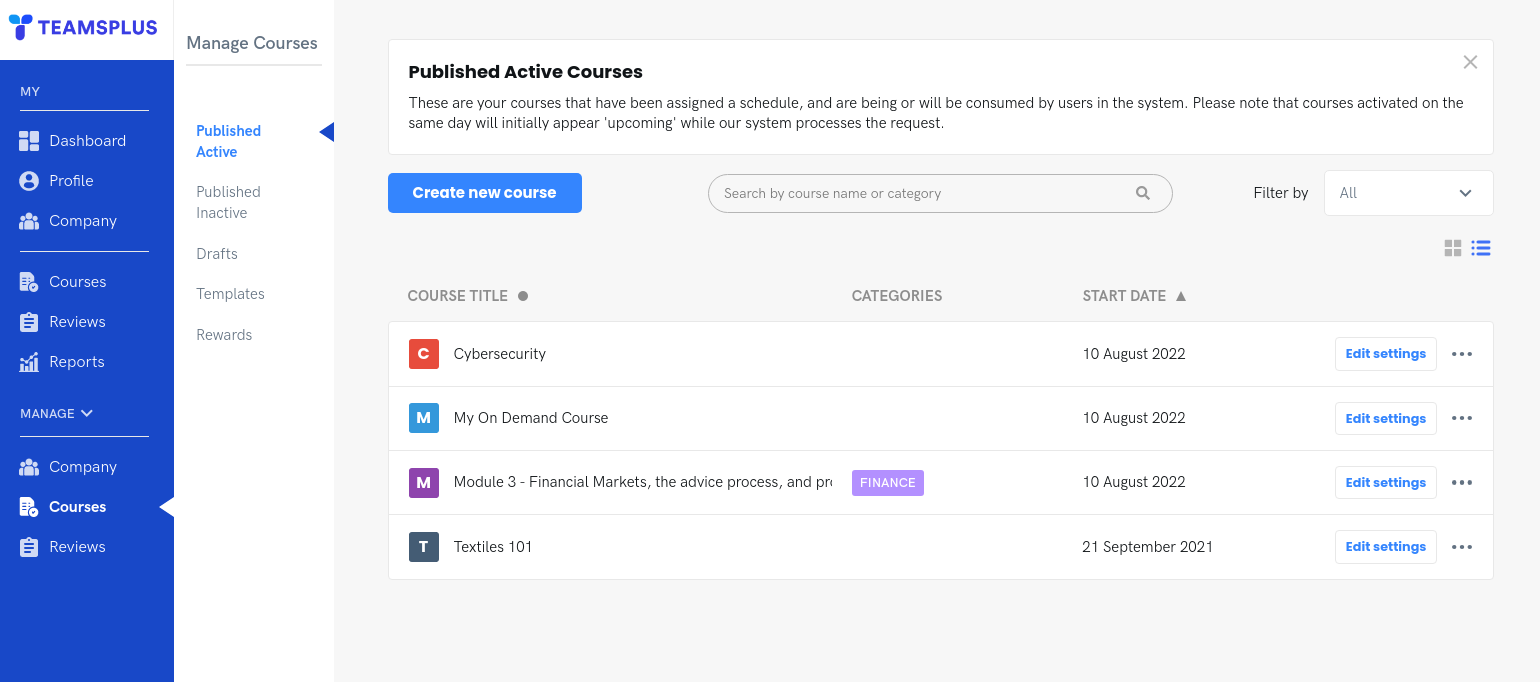
Course settings
Click the links below for additional info on each setting in a course ...
Editing a Course
The Manage area displays all the courses your company has created. To make changes to a course, find the relevant course and select 'Edit course' from the drop down menu on the relevant course.
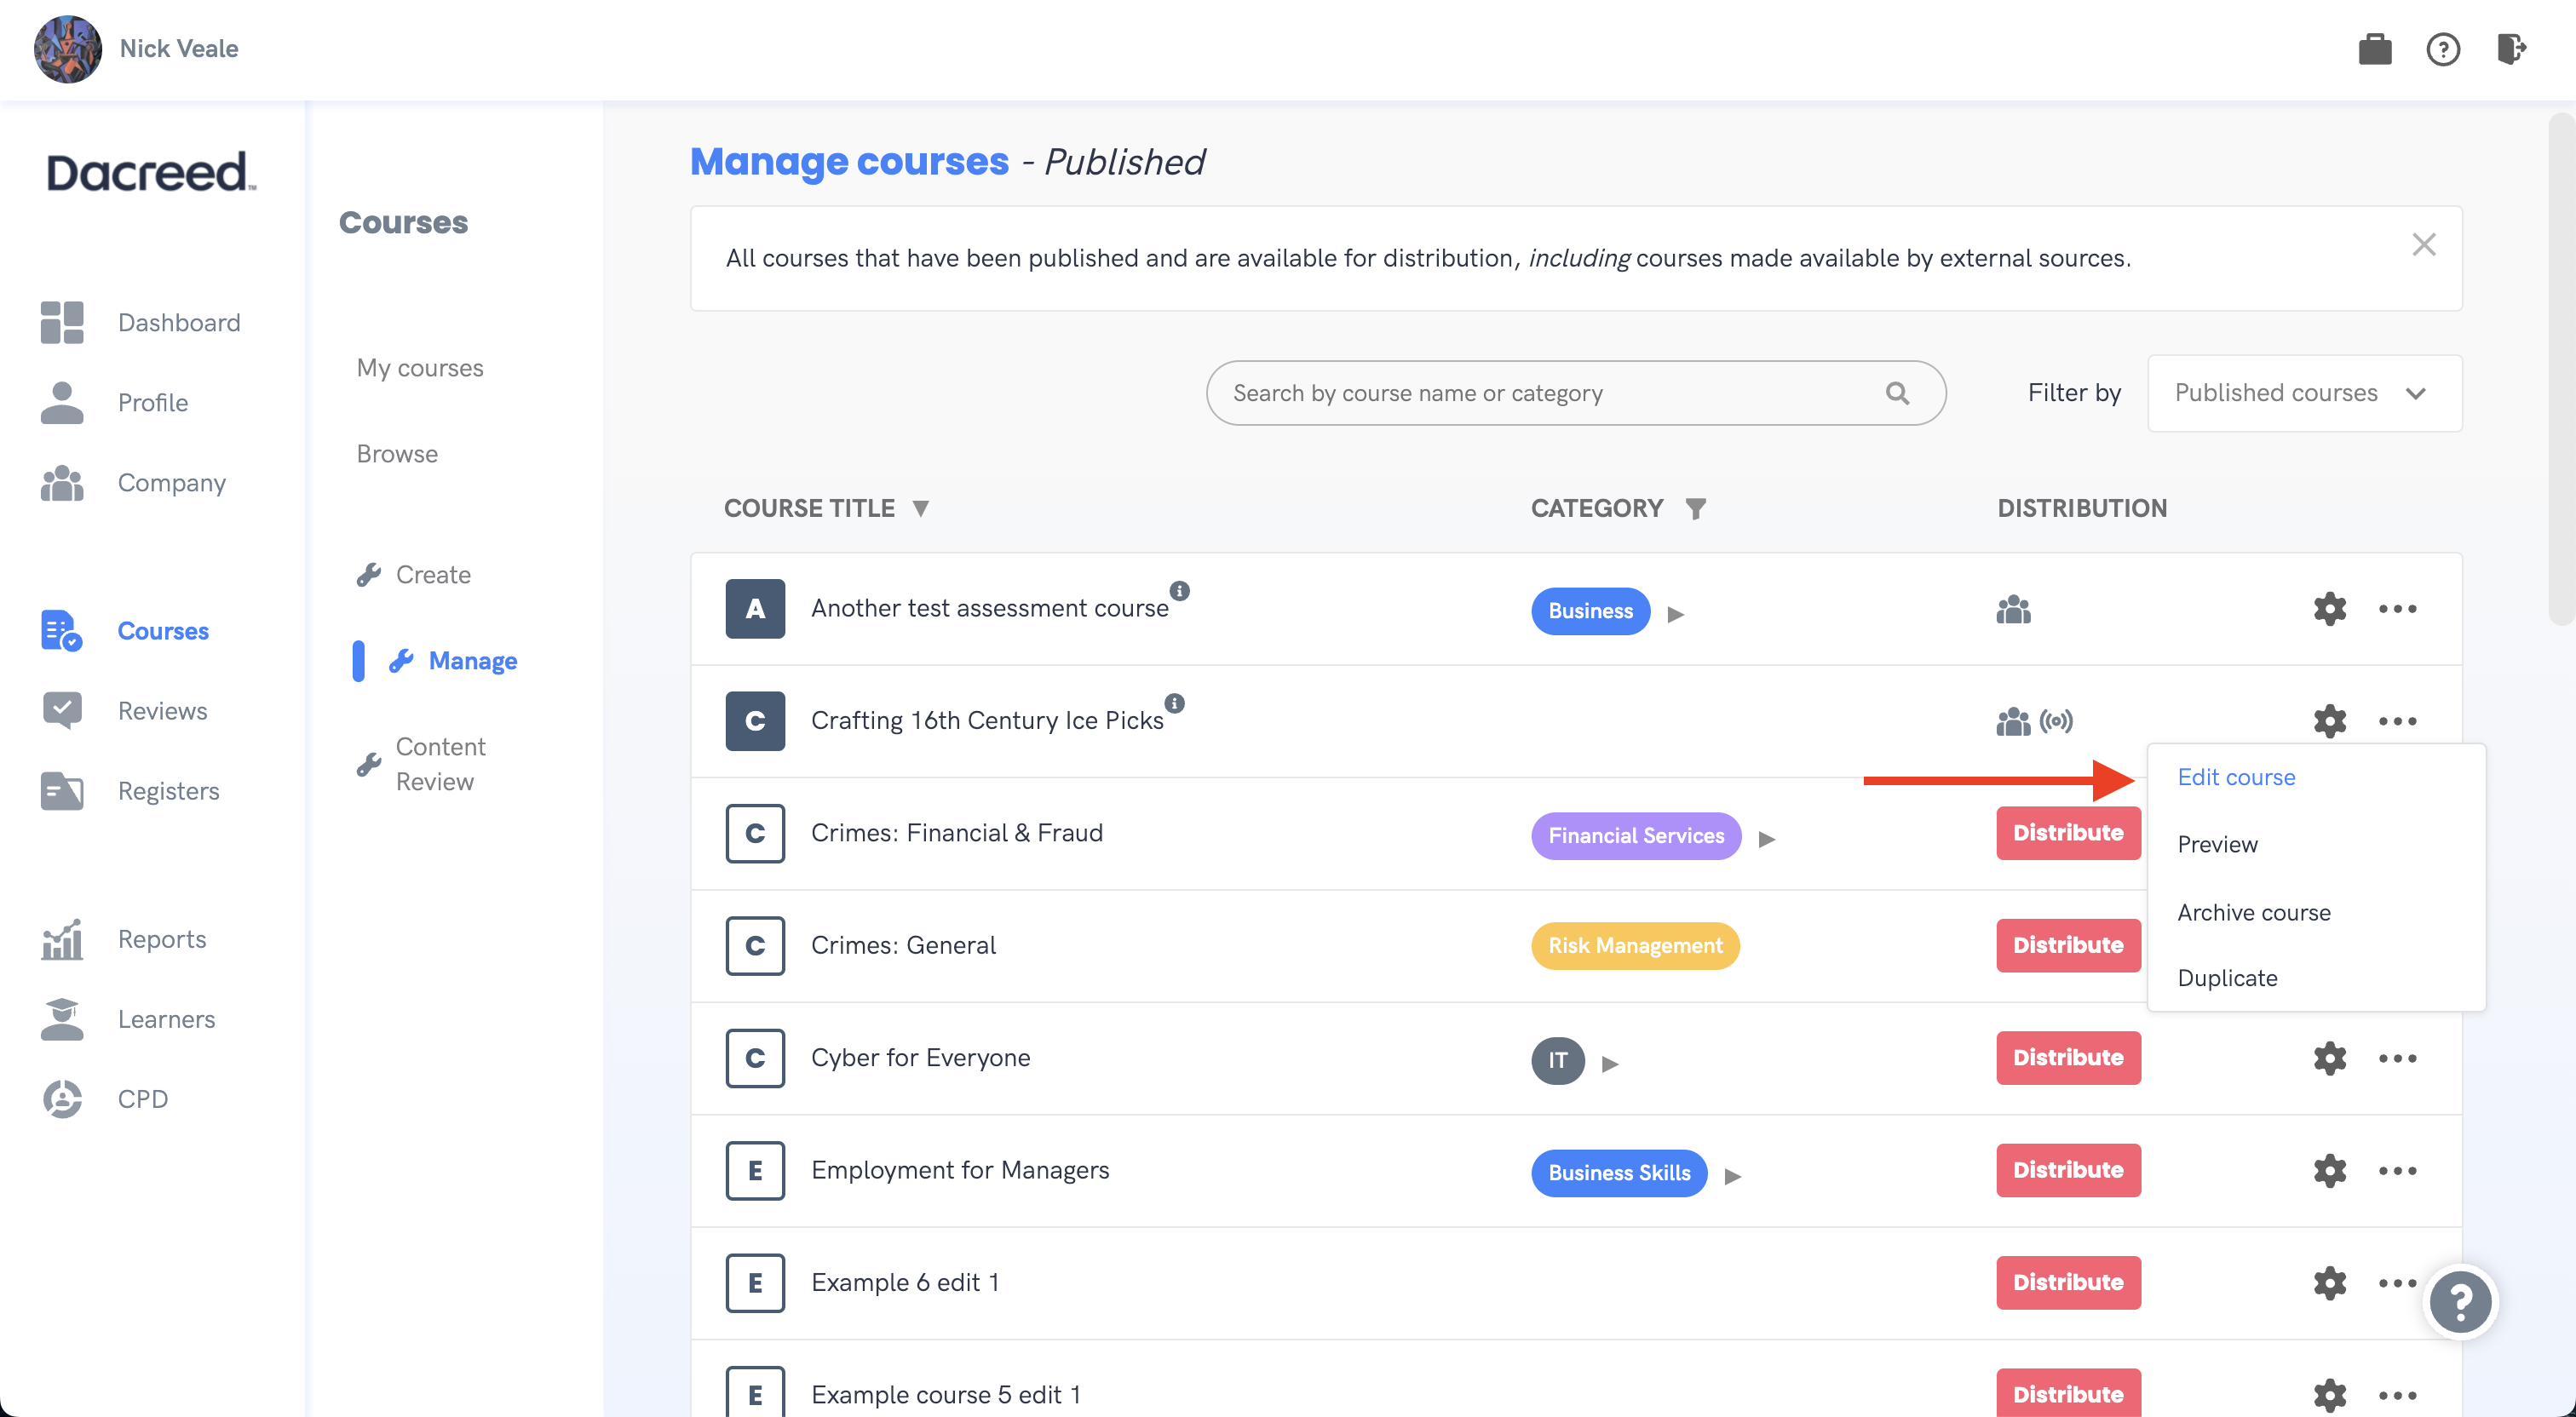
The course builder will then guide you back through the creation process where you can make any changes that you wish before previewing and publishing again in the same manner mentioned above. Once you have published your changes (depending on how the course is distributed) you decide whether you want these changes to take place now, or at the next renewal. You can choose nothing and come back to this decision, however the course will remain on the old version until you do so.
Archiving a Course
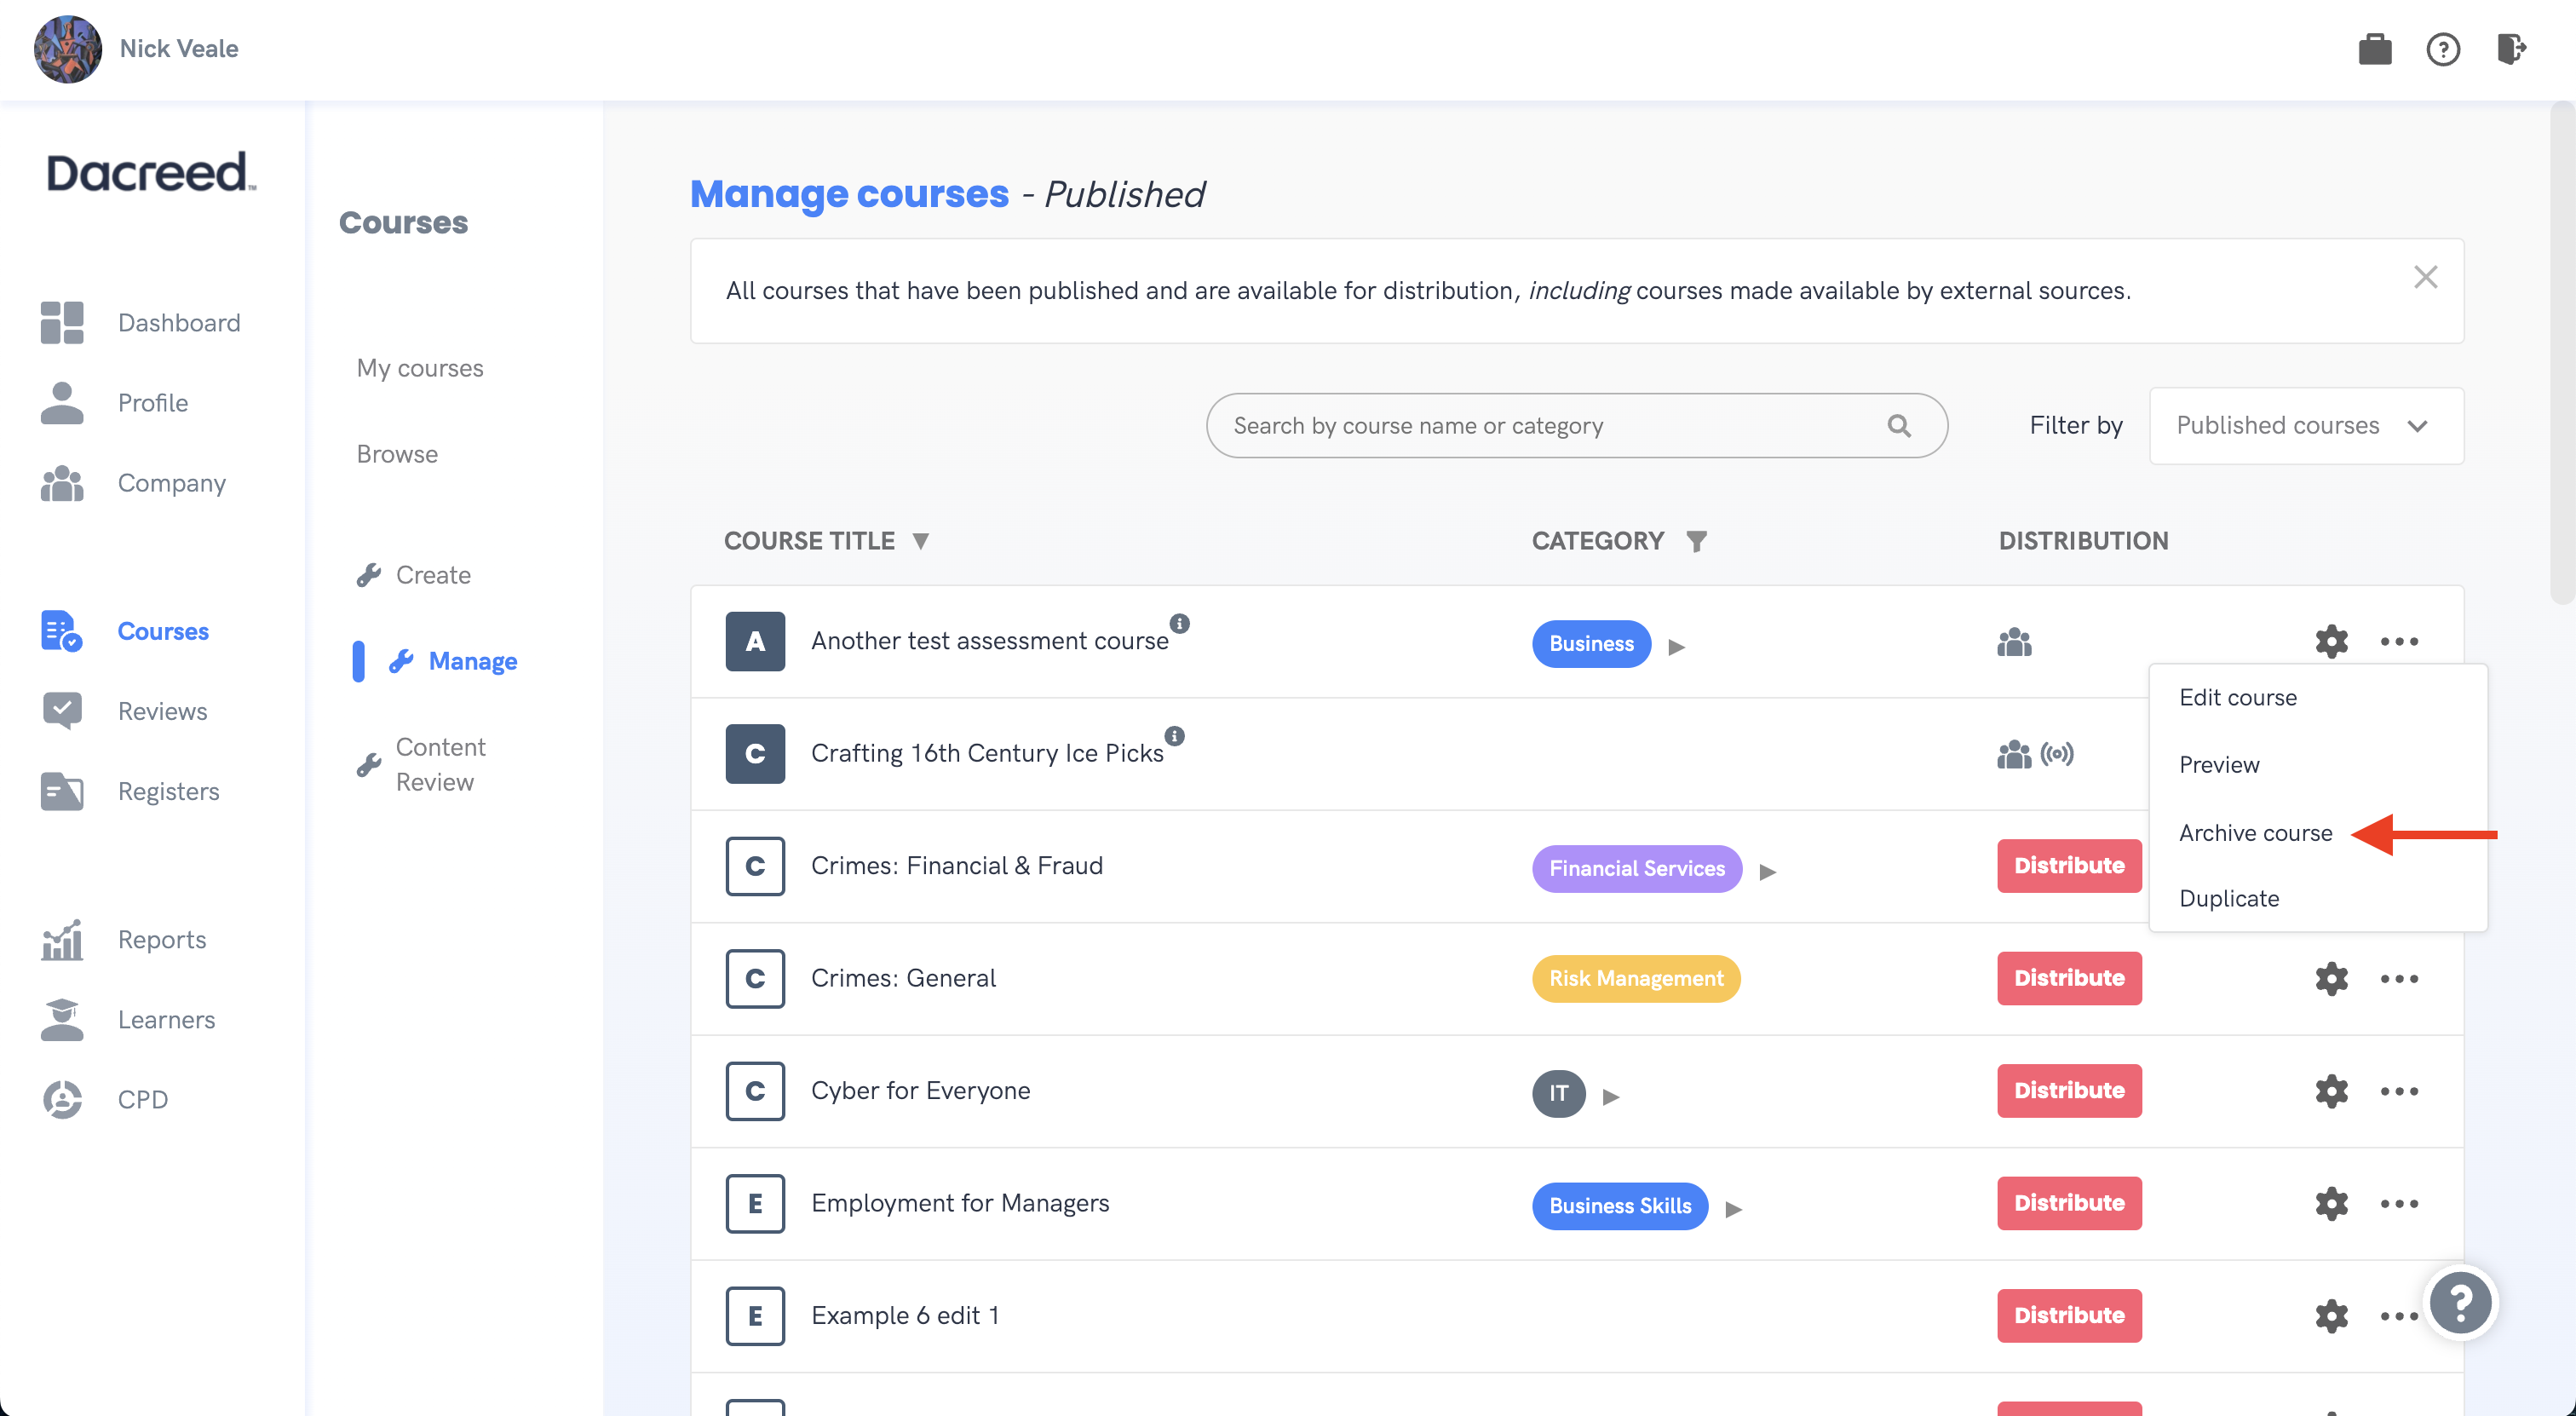
If a course is no longer in use and you wish to hide it from the courses area, you can archive it from the drop down menu on the row.
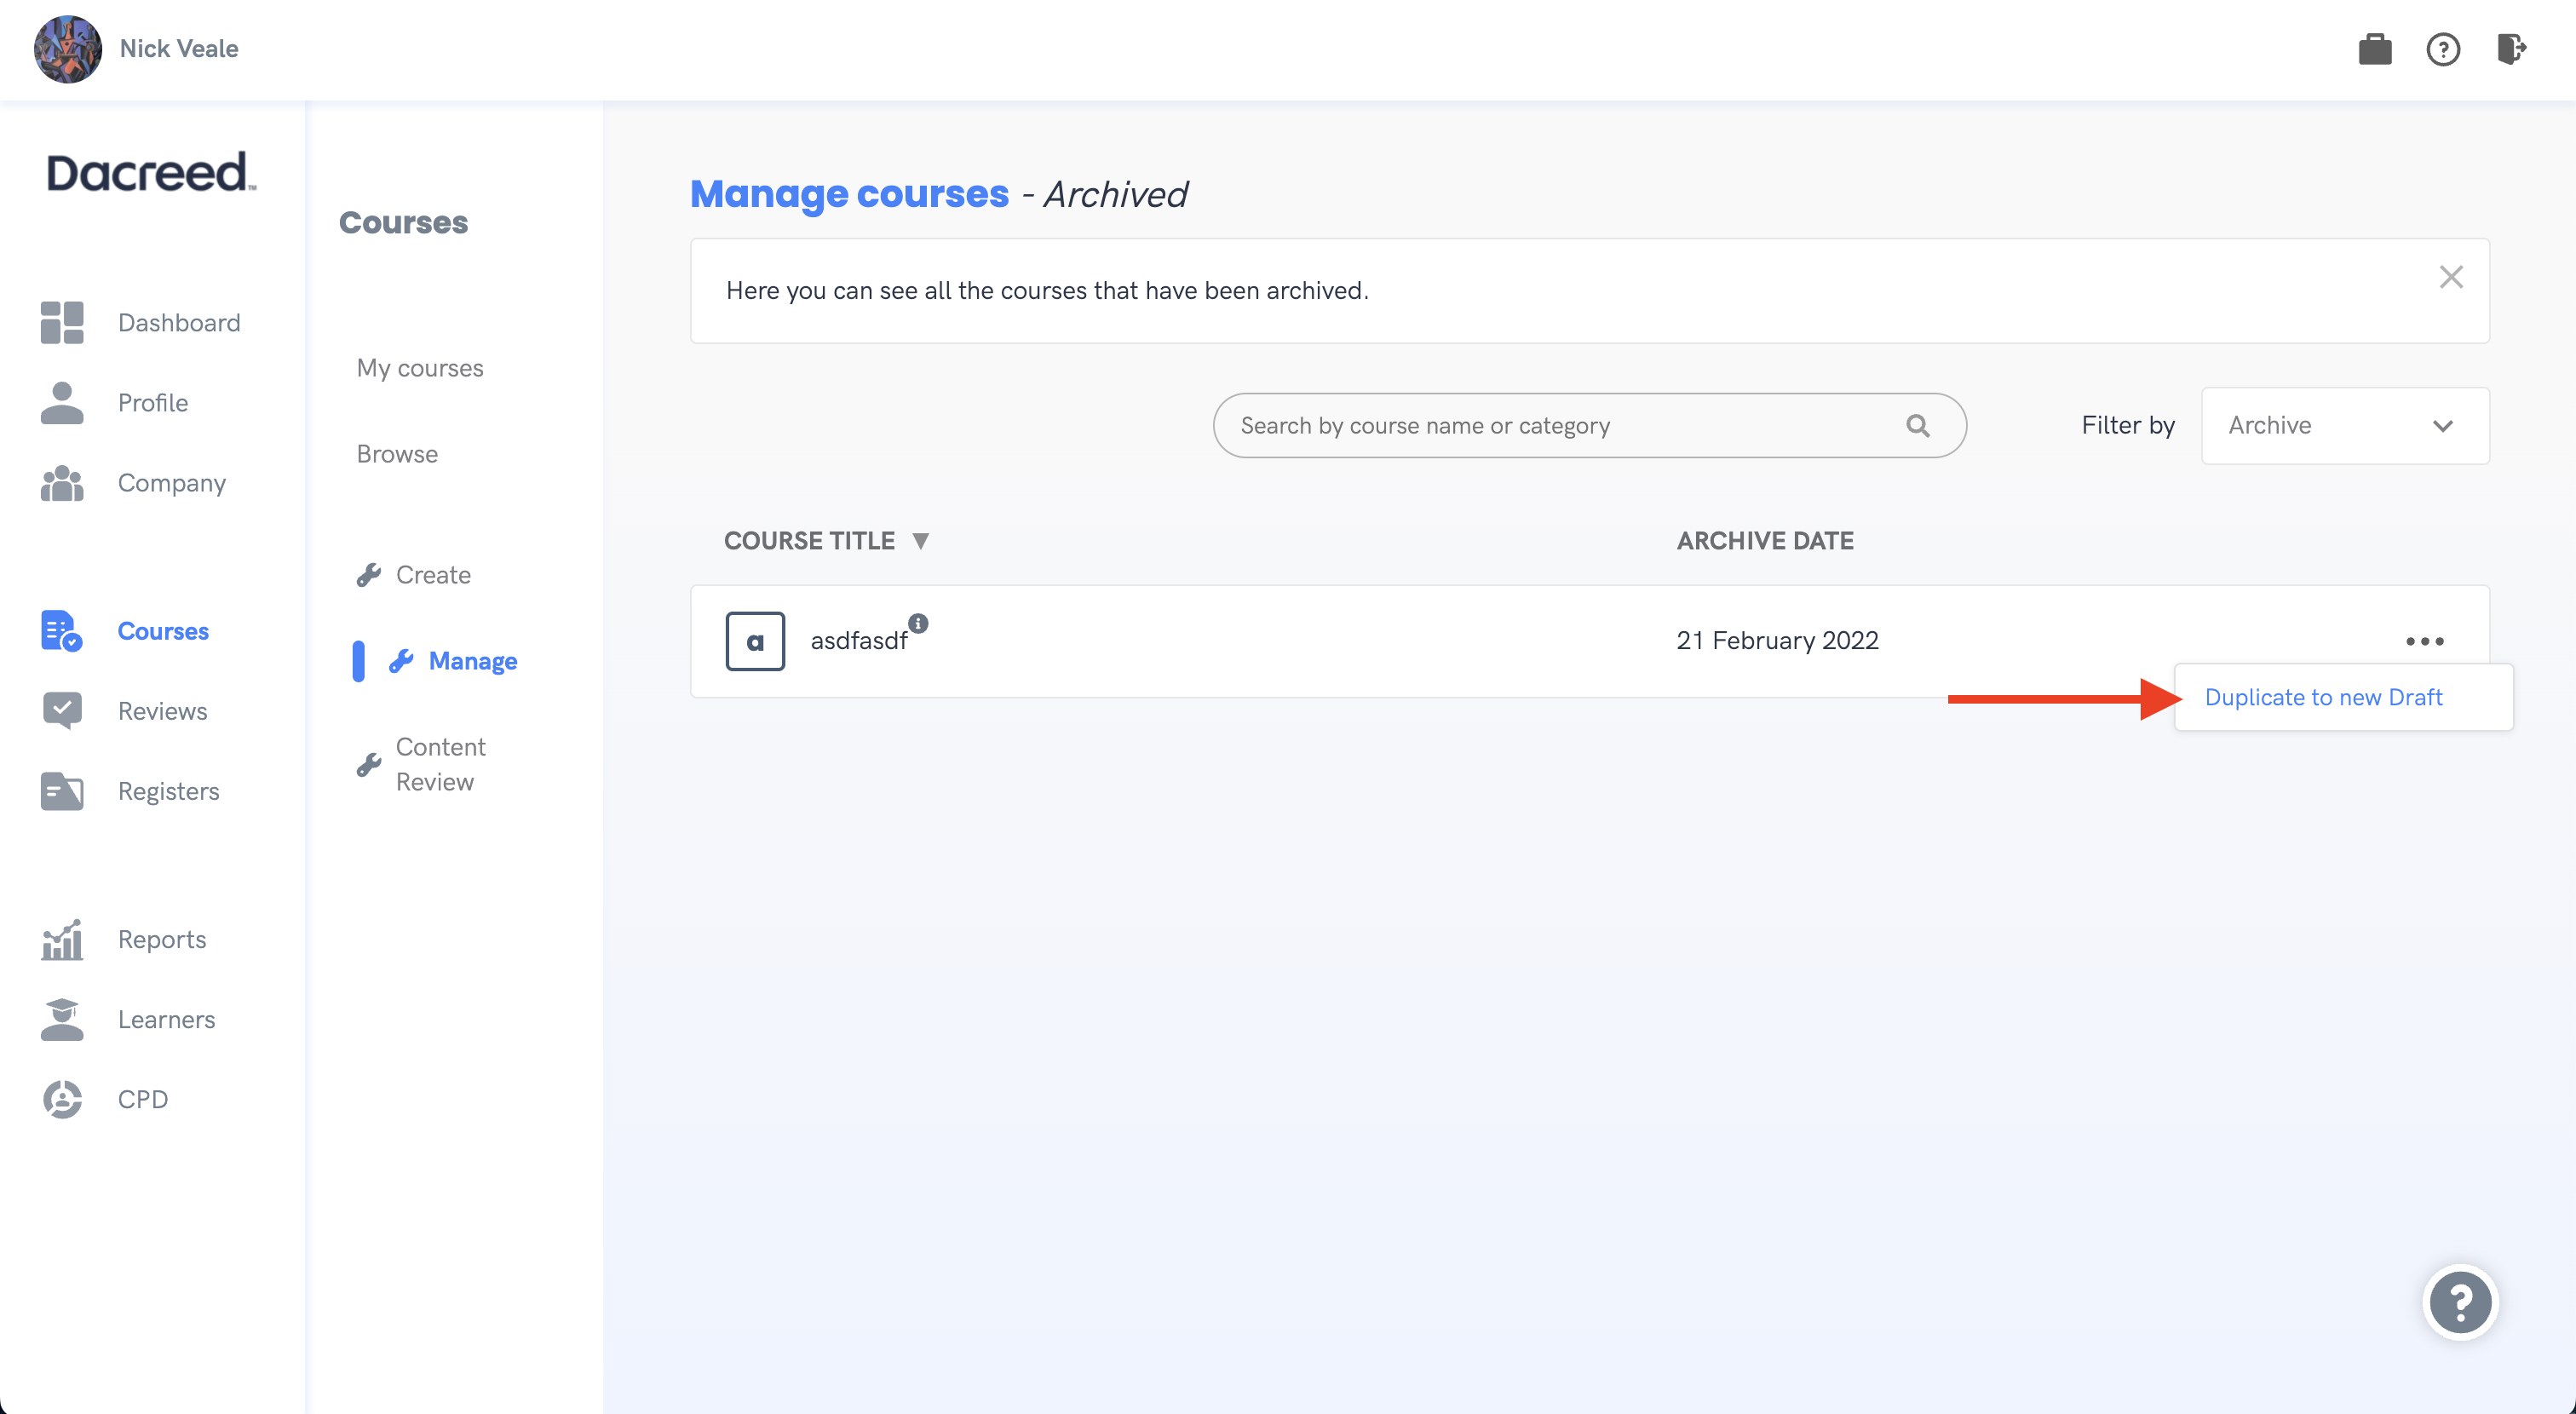
You can view a list of archived courses by going to 'Courses > Manage', and selecting 'Archived courses' from the dropdown.
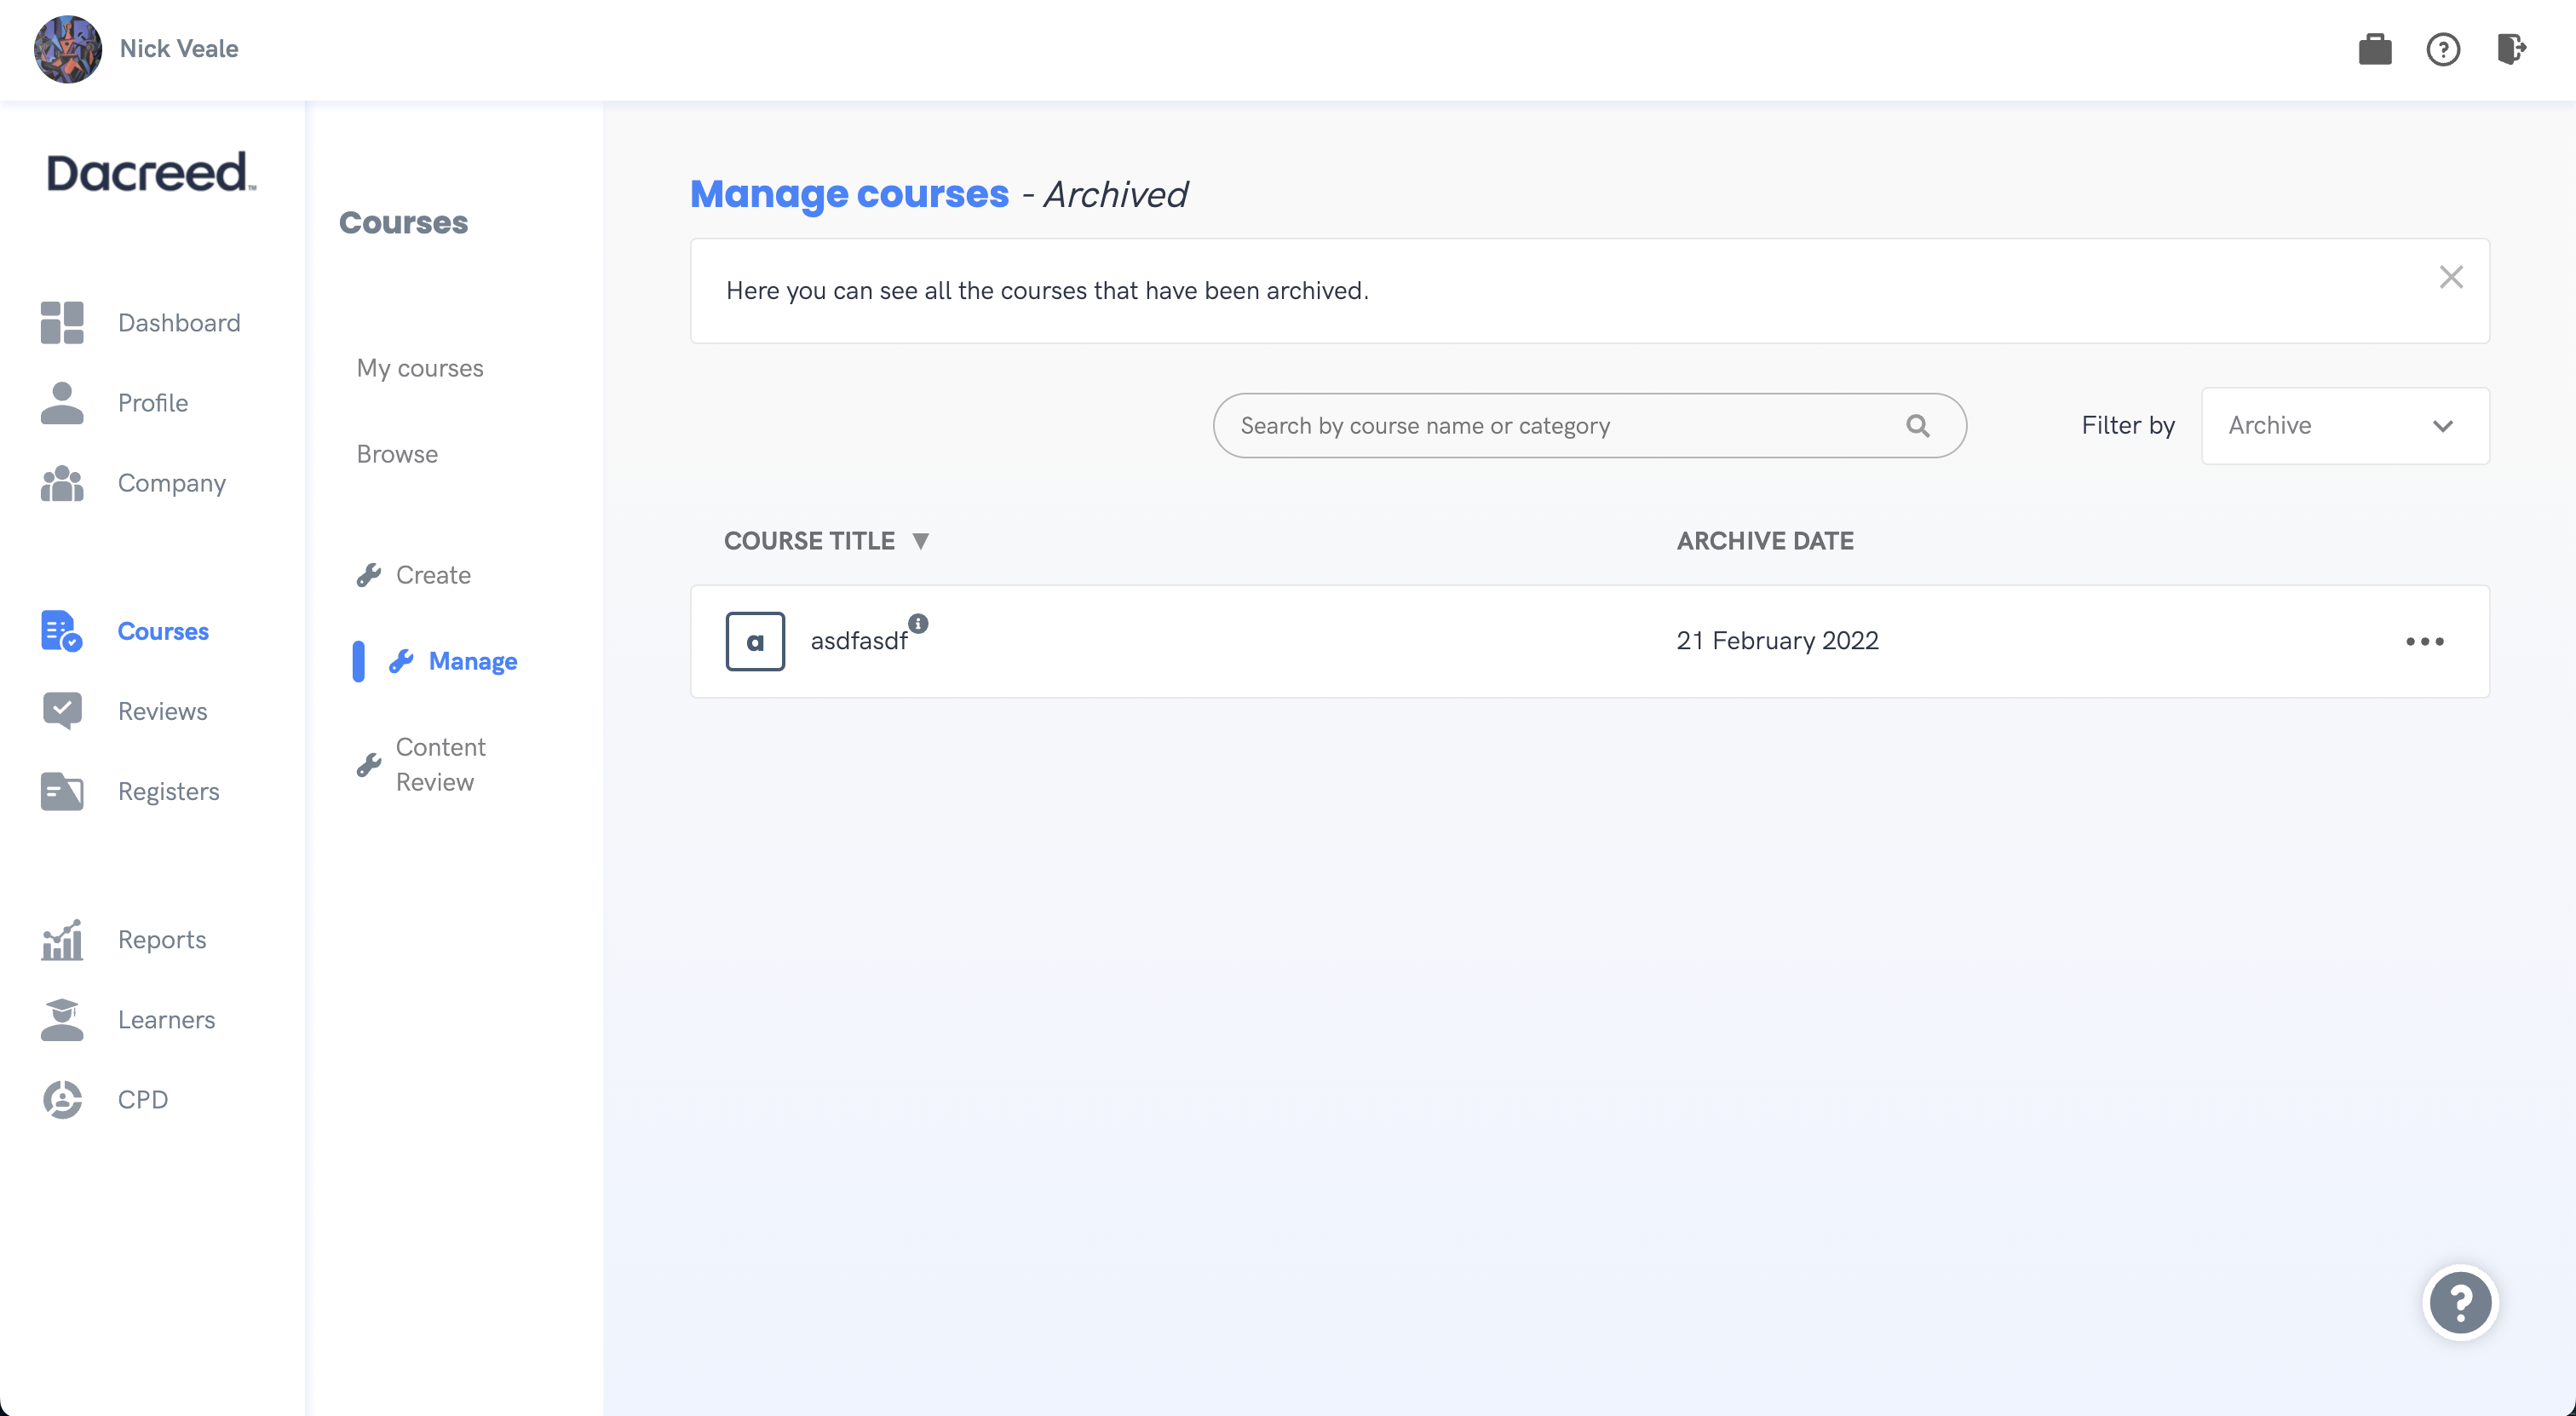
Note: You cannot unarchive a course after it has been archived, however you can duplicate an archived courses content to a new draft, by selecting the option from the dropdown on the corresponding archived courses row.
